Why Proper Jump Rope Form Matters
Mastering proper jump rope form is the foundation of an effective and safe workout. Good technique does more than make you look smooth—it improves results, protects your joints, and helps you progress faster.
When you jump with correct jump rope posture, your movements are efficient. This means more calorie burn, better cardio conditioning, and less wasted energy. You’ll also notice a boost in coordination, agility, and muscle engagement—especially in your calves, core, and shoulders.
On the other hand, poor form can hold you back. Jumping too high, landing flat-footed, or swinging with your arms instead of your wrists can cause muscle strain, joint impact, and early fatigue. Over time, bad habits may lead to shin splints, knee pain, or shoulder discomfort, slowing your progress.
Here’s a quick view of the difference:
| Proper Form Benefits | Improper Form Risks |
|---|---|
| Maximizes workout efficiency | Wastes energy and slows improvement |
| Reduces injury risk | Increases risk of strain and pain |
| Improves cardio, coordination, agility | Hurts rhythm and timing |
| Engages core and lower body muscles | Causes imbalance and poor technique |
The Fundamentals of Proper Jump Rope Form

Getting your jump rope form right from the start helps you move smoother, last longer, and avoid unnecessary strain. Here’s how to dial in the basics:
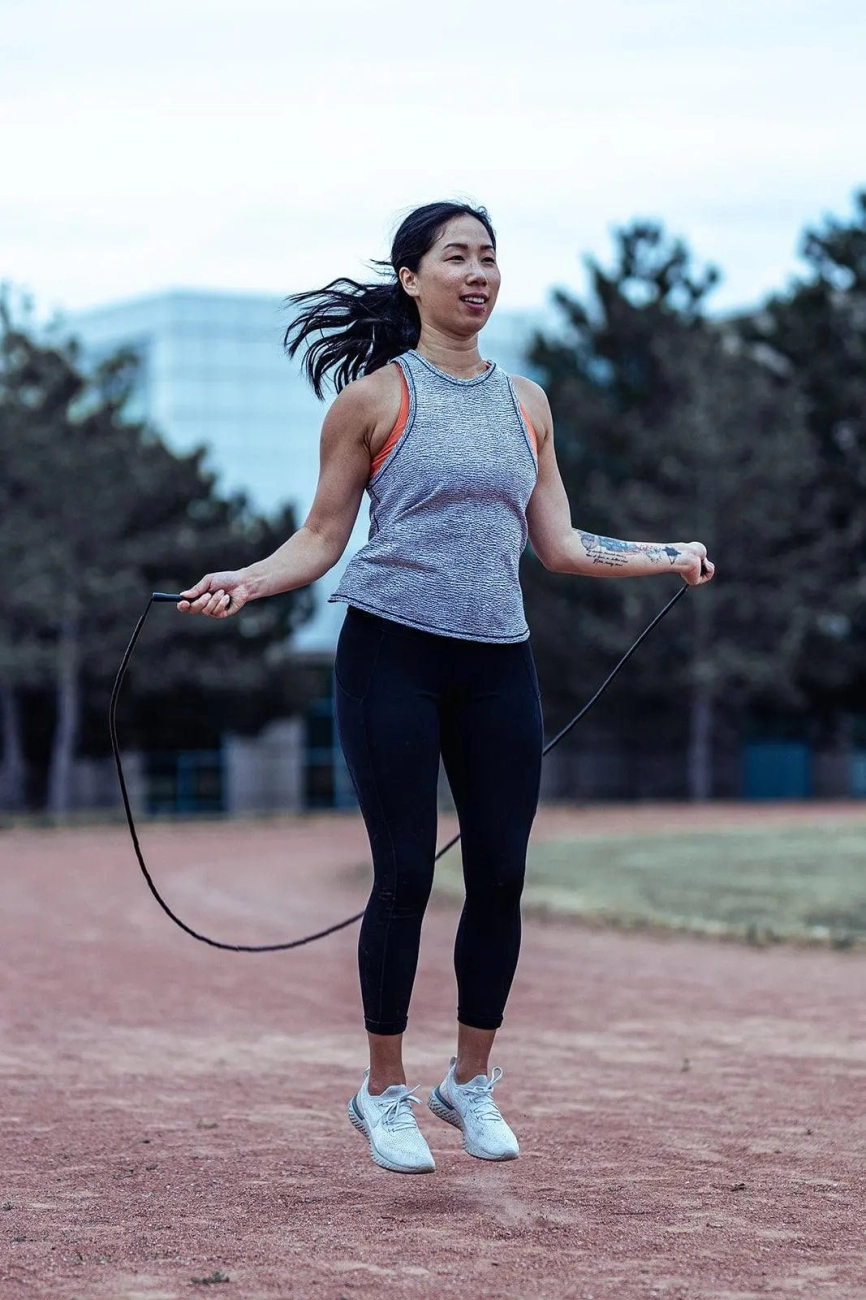
Starting Position and Stance
- Stand with your feet shoulder-width apart or slightly closer.
- Keep a slight bend in your knees to absorb shock on landing.
- Stay upright with a tall posture, shoulders relaxed, and core engaged.
Hand and Arm Placement
- Keep your elbows close to your sides, relaxed but stable.
- Hold the handles lightly with your fingers—avoid squeezing too tight.
- Turn the rope using your wrists, not your arms or shoulders.
Wrist Action vs Arm Movement
- Make small wrist rotations for an efficient rope turn.
- Wrist movement conserves energy, improves speed control, and keeps your form consistent.
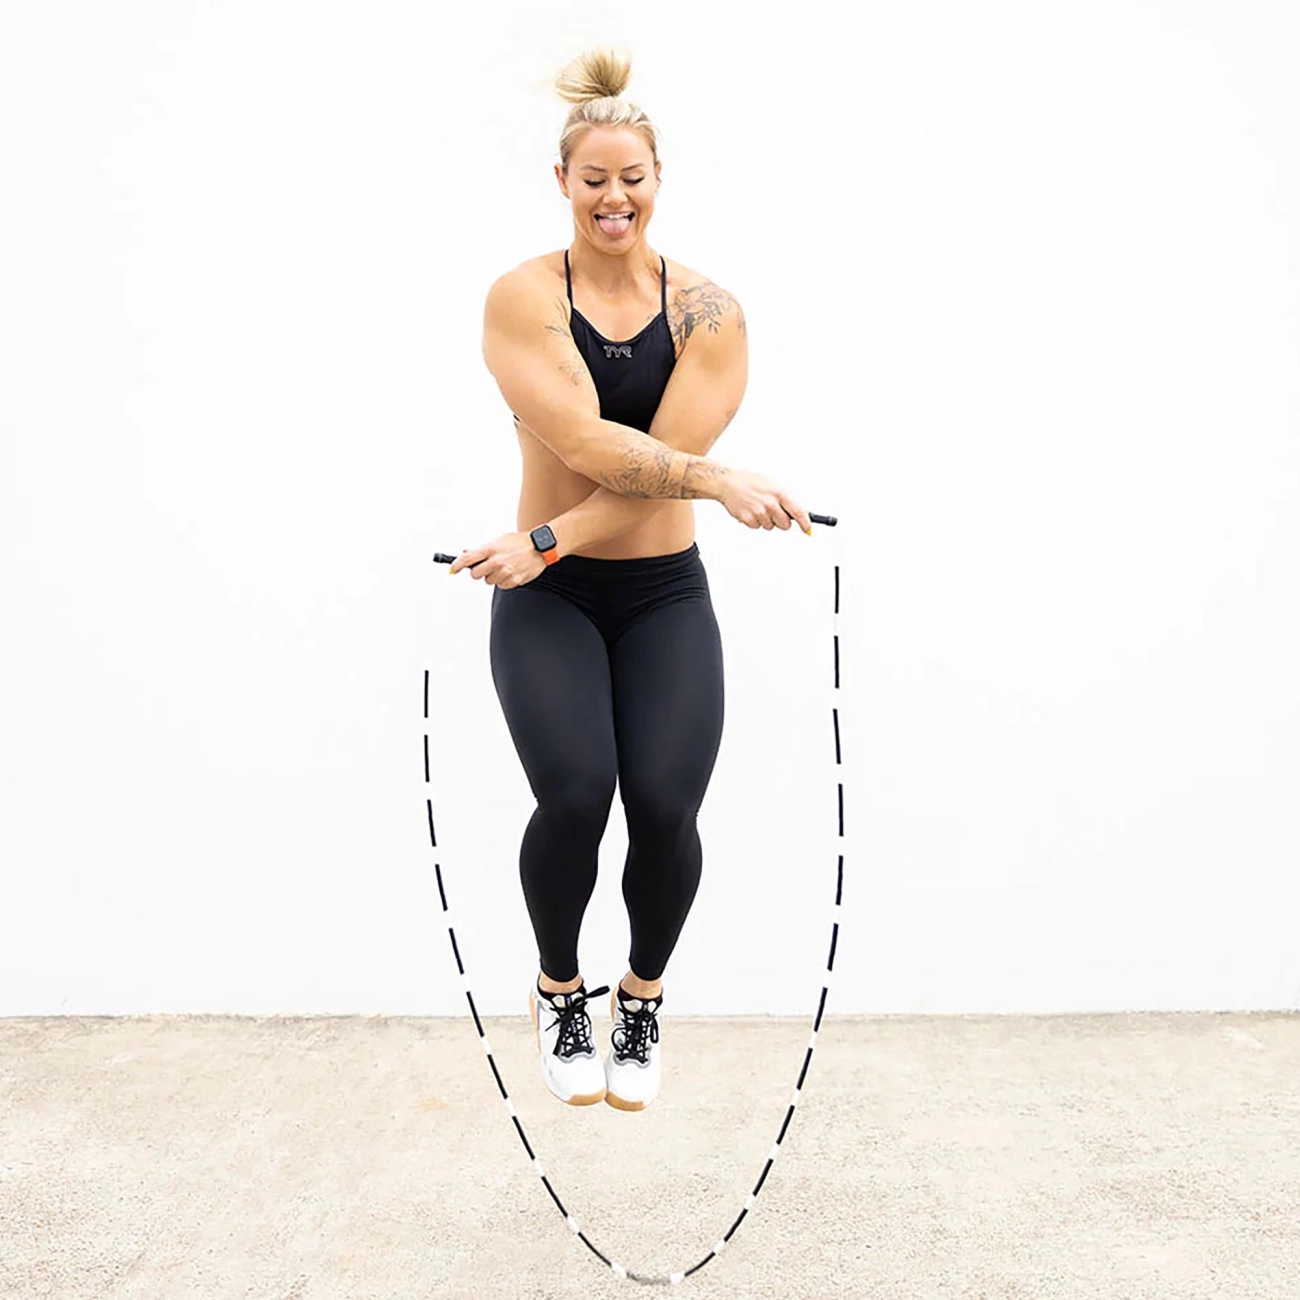
Jumping Technique
- Jump just high enough (about 1–2 inches) to clear the rope.
- Land softly on the balls of your feet to protect your joints.
- Skip the high, bouncy jumps and avoid landing flat-footed.
Breathing and Rhythm
- Match your breathing with your jump pace—inhale and exhale steadily.
- Keep a smooth, steady rhythm and stay relaxed for longer sessions.
Common Mistakes and How to Correct Them
Even if you know the basics of proper jump rope form, small mistakes can make your workout less effective and raise your risk of injury. Here are the most common issues and quick ways to fix them:
Jumping too high
- The problem: Wastes energy and breaks rhythm.
- The fix: Keep jumps low — about 1–2 inches off the ground, just enough for the rope to pass under.
Using arms instead of wrists
- The problem: Causes early fatigue and slows speed.
- The fix: Keep elbows close to your sides and rotate the rope with your wrists, not your whole arms.
Poor posture
- The problem: Slouching or leaning forward strains your back and affects balance.
- The fix: Stand tall, engage your core, and keep your eyes forward.
Holding rope handles too tight
- The problem: Creates tension in arms and shoulders, reducing fluid movement.
- The fix: Hold handles lightly with your fingers, not a death grip.
Landing heavily on heels or flat feet
- The problem: Puts extra stress on your joints and slows transitions.
- The fix: Land softly on the balls of your feet for better shock absorption.
How to self-assess
- Practice in front of a mirror or record short videos.
- Listen for rhythm — jumps should sound quiet and controlled.
- Check if your shoulders stay relaxed and rope turns are coming from your wrists.
Tips to Improve Your Jump Rope Form
If you want smoother jumps and fewer mistakes, a few small tweaks can go a long way. Here’s how I keep my proper jump rope form sharp and consistent:
- Warm up first – A few minutes of light cardio and ankle mobility drills help loosen up joints and prevent strain.
- Drill just the wrists – Practice turning the rope with wrist movement only, no big arm swings. This builds efficiency and saves energy.
- Check yourself visually – Use a mirror or record short clips to spot posture issues, hand placement, or unnecessary movements.
- Increase speed gradually – Once your rhythm feels solid, pick up the pace in small steps instead of jumping straight to high intensity.
- Stay consistent – Even 5–10 minutes of daily practice beats long but infrequent sessions for building muscle memory and coordination.
Most people overcomplicate jump rope technique. Keep it simple, focus on posture, wrist control, and rhythm, and your performance will improve fast.
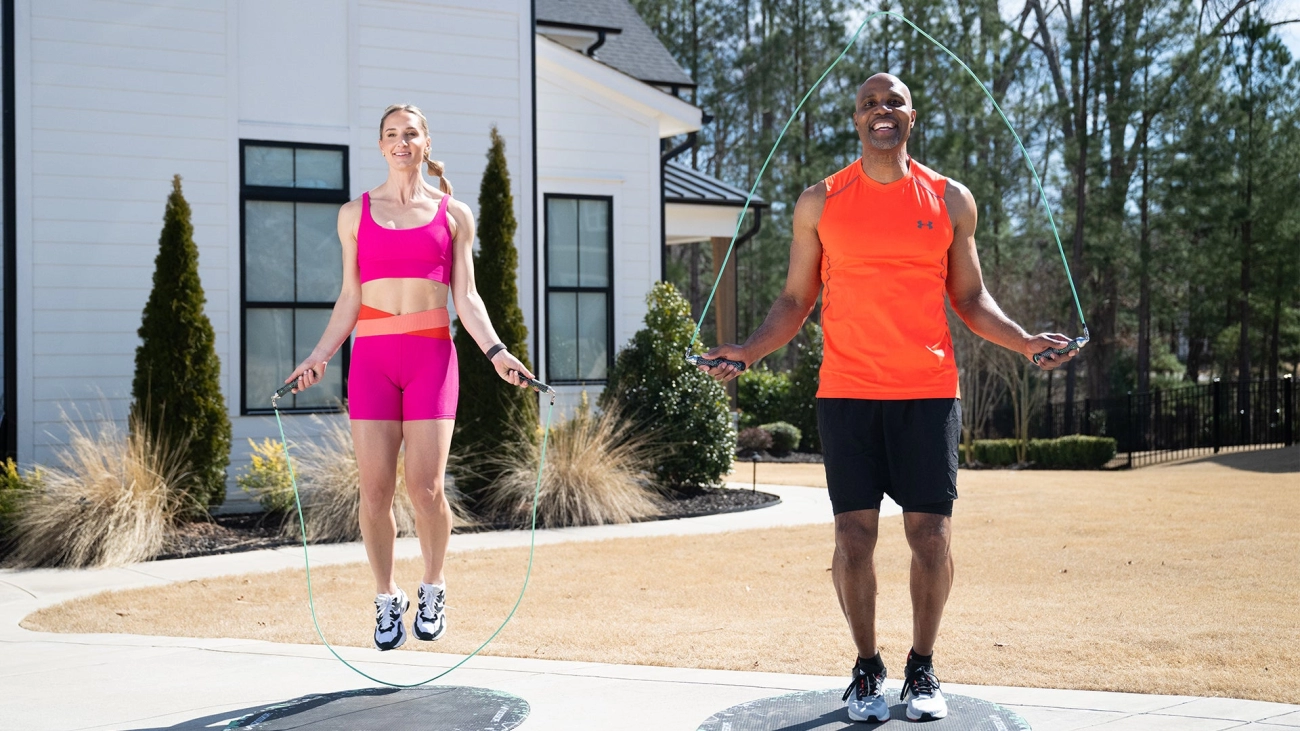
Choosing the Right Jump Rope to Support Proper Form
The jump rope you use makes a big difference in keeping proper jump rope form and getting the most from your workouts. The right length, weight, and handle design help you stay efficient, avoid strain, and keep a steady rhythm.
Rope Length Guidelines Based on Height
A rope that’s too short or too long will throw off your timing and posture. Here’s a quick height guide:
- Under 5’4” – Rope length around 8 feet
- 5’4” – 5’10” – Rope length around 9 feet
- Over 5’10” – Rope length around 10 feet
Many prefer adjustable jump ropes so they can fine-tune the length for comfort and performance. If you’re just starting out, you might want to try an adjustable jump rope for easier setup.
Weight and Material Considerations
- Speed ropes (lightweight PVC or coated cable) – Best for quick footwork, double unders, and cardio conditioning.
- Weighted ropes – Add resistance to engage shoulders, arms, and core more. Great for strength and endurance training.
- Beaded ropes – Durable, great feedback on each rotation, and perfect for learning timing.
Handle Design for Comfort and Grip
Comfortable handles keep your wrists and forearms relaxed. Look for:
- Ergonomic shape to fit your hand naturally
- Non-slip grip to prevent slipping when sweaty
- Smooth bearings for consistent rope rotation, like a ball bearing jump rope.
Why Quality Equipment Matters
A well-made jump rope delivers smoother rotations, better control, and less wasted effort. This means:
- Easier to maintain proper wrist action instead of overusing your arms
- More accurate timing for clean rope passes
- Less risk of tripping and breaking rhythm
Good equipment doesn’t just make workouts feel better—it helps you stick to correct jump rope posture and maintain form for longer sessions.
Advanced Form Tips for Experienced Jumpers
If you’ve already nailed your proper jump rope form, you can push your skills further without losing technique. Advanced jumpers often aim for more speed, endurance, and variety, but keeping form in check is key to preventing bad habits or injuries.
Add Footwork Variations Without Losing Form
Mixing up steps can make workouts more engaging, but don’t let fancy moves ruin your jump rope technique.
- Try side-to-side jumps, high knees, or crisscross arms while keeping your core engaged and posture upright.
- Keep jumps low (1–2 inches off the ground) so you stay light and quick.
- Control the rope with wrist movement—avoid swinging from the shoulders.
Keep Form During High Intensity Intervals
When the pace picks up, it’s easy to tighten up or start bouncing higher than needed.
- Focus on steady breathing—inhale through the nose, exhale through the mouth.
- Stay on the balls of your feet for shock absorption.
- Maintain elbows close to your sides to prevent excess arm movement.
Train for Endurance and Speed the Right Way
Building stamina and quickness takes more than just going faster.
- Use interval training—alternate between quick bursts and steady pace rounds.
- Gradually increase your speed to keep efficiency high and reduce strain.
- Stay relaxed in your grip on the handles to avoid forearm fatigue.
When advanced jumpers keep clean form, they not only perform better but also last longer in every session.
FAQs About Jump Rope Form
How long should my jumps be
Your jumps should be small and quick—just enough to clear the rope, about 1–2 inches off the ground. This keeps you light on your feet, reduces joint strain, and helps maintain speed.
How do I stop tripping over the rope
Make sure your rope is the right length (stand on the middle of it—the handles should reach about armpit height).
Keep your elbows close to your sides and use your wrists to turn the rope.
Focus on a steady rhythm instead of trying to go too fast at first.
Can I use jump rope form techniques for other exercises
Yes. The posture, core engagement, and footwork control you use in proper jump rope form can improve balance, agility, and coordination for sports like boxing, basketball, and HIIT workouts.
What are signs of bad technique or injury risk
- Consistently landing flat-footed or on your heels
- Excessive jumping height or heavy landings
- Overusing your arms instead of your wrists
- Shoulder or shin pain after short sessions
Correct these early to avoid strain and keep your workouts safe and effective.